
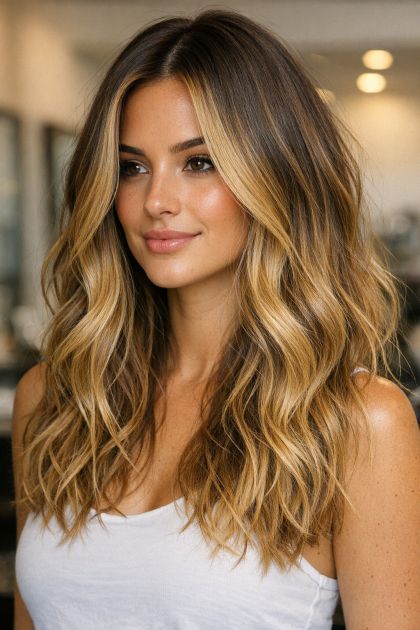
Transforming your hair into a sun-kissed masterpiece doesn't have to break the bank. For college students on a budget, achieving a balayage effect can seem daunting, but with the right tools and techniques, it’s entirely possible. This DIY guide walks you through creating a stunning sun-kissed honey blonde balayage using only one L'Oreal highlighting kit, perfect for those seeking a fresh, spring-ready look without the salon price tag.
This DIY balayage is perfect for adding dimension and warmth to medium brown hair. It’s versatile enough for casual and formal occasions, making it ideal for busy college students who want a low-maintenance yet stylish look. Pair it with loose waves for a beachy vibe or straighten it for a sleek, polished appearance. This sun-kissed style is perfect for spring and summer, blending seamlessly with the natural hair color to give a fresh, lively appearance.
Budget-Friendly Sun-Kissed Balayage
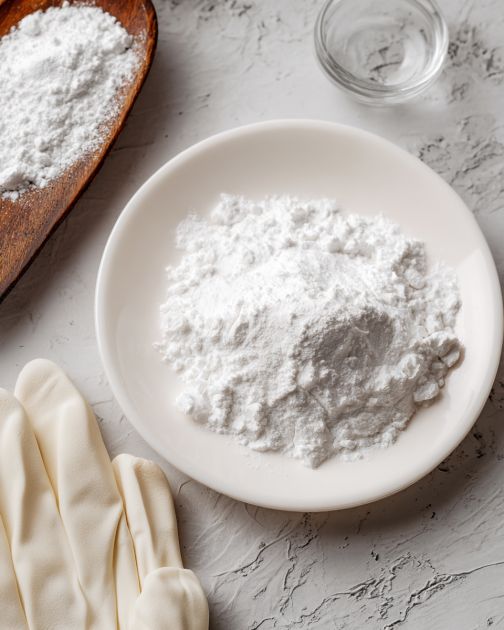
Materials
1 L'Oreal Highlighting Kit
Plastic gloves (included in the kit)
Small plastic brush (included in the kit)
Plastic bowl (included in the kit)
Hair sectioning clips
Old t-shirt or towel (to protect clothing)
Wide-tooth comb
Timer
Directions
Start by wearing an old t-shirt or towel to protect your clothing. Gather all materials and set them up in a comfortable space, like a dorm room floor.
Section your dry, unwashed hair with clips to separate the strands you wish to highlight. Aim for a natural distribution, focusing on the mid-lengths to ends.
Put on the plastic gloves provided and mix the bleach according to the instructions in the L'Oreal highlighting kit using the plastic bowl and brush.
Using the small plastic brush, begin applying the bleach to the mid-lengths of your hair, working your way down to the ends. Use a freehand painting technique to achieve a natural balayage effect.
Ensure even application by checking that all selected strands are adequately coated. Avoid applying bleach to the roots for a more natural, sun-kissed look.
Allow the bleach to process for the time recommended in the kit instructions, usually between 15-50 minutes, depending on the desired lightness.
Once the desired color is achieved, rinse the bleach out thoroughly with warm water. Follow with a conditioner to hydrate and soften the hair.
Style as desired, using a wide-tooth comb to detangle and shape the hair while it is damp.
Variations & Tips
For a softer, more subtle effect, opt for fewer strands and a shorter processing time. If you’re aiming for a bolder look, consider applying the bleach to thicker sections or allowing it to sit longer. To add even more depth, incorporate lowlights by applying a darker toner to select strands after the bleaching process. Always perform a strand test first to gauge how your hair will react to the bleach. Consider using a purple shampoo post-treatment to maintain the color by neutralizing any brassy tones.